This blog post will show you how to create your own OpenID identity provider using Flowlet. It is a powerful solution to add secure login to your API for your front-end applications and third parties. The OpenID standard is based on the OAuth standard. Therefore, implementing OpenID provides the best compatibility with connecting systems.
TL;DR: The OpenID IdP described in this post is available as a template in Flowlet. A bare-bones NextJS app that connects to this IdP is provided on Github.
Systems involved in OpenID authentication
When a user attempts to log in to a (NextJS) website using OpenID, the following systems are involved in the authentication process:
The OpenID Identity Provider (IdP): This system stores and manages the user's OpenID credentials. In most cases, the IdP will be operated by the same organization that runs the website where the user logs in. However, it is also possible for third-party providers to connect to the IdP. This system is sometimes called the authority.
The Relying Party (RP): This is the NextJS website where the user logs in. For an RP to accept OpenID credentials, it must be configured to trust the particular IdP the user is using. You might also see the term Service Provider (SP), which refers to the same systems.
The User-Agent: This is the web browser. You might not directly regard this system as part of the OpenID framework, but many of the communications involved in the authorization process occur on the client side. It is even possible for the RP to only connect to the IdP from the user agent without their web servers being involved.
Requirements to set up your authority
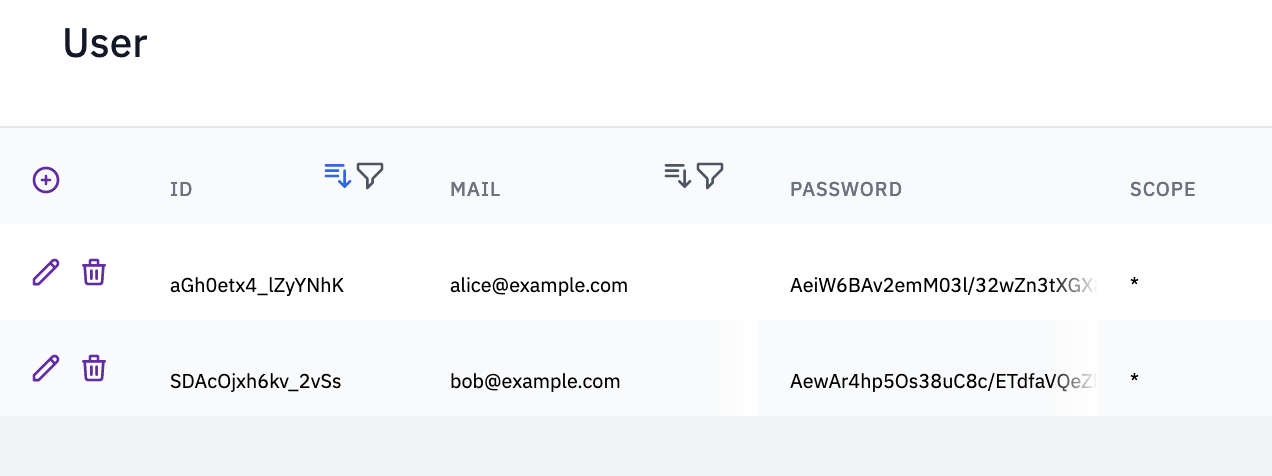
Since we're about to authenticate users, we need a database with user profiles. Each profile must have at least an identifier, a username (could be an e-mail address), and a password. You might also need a scope, depending on how you use scopes.
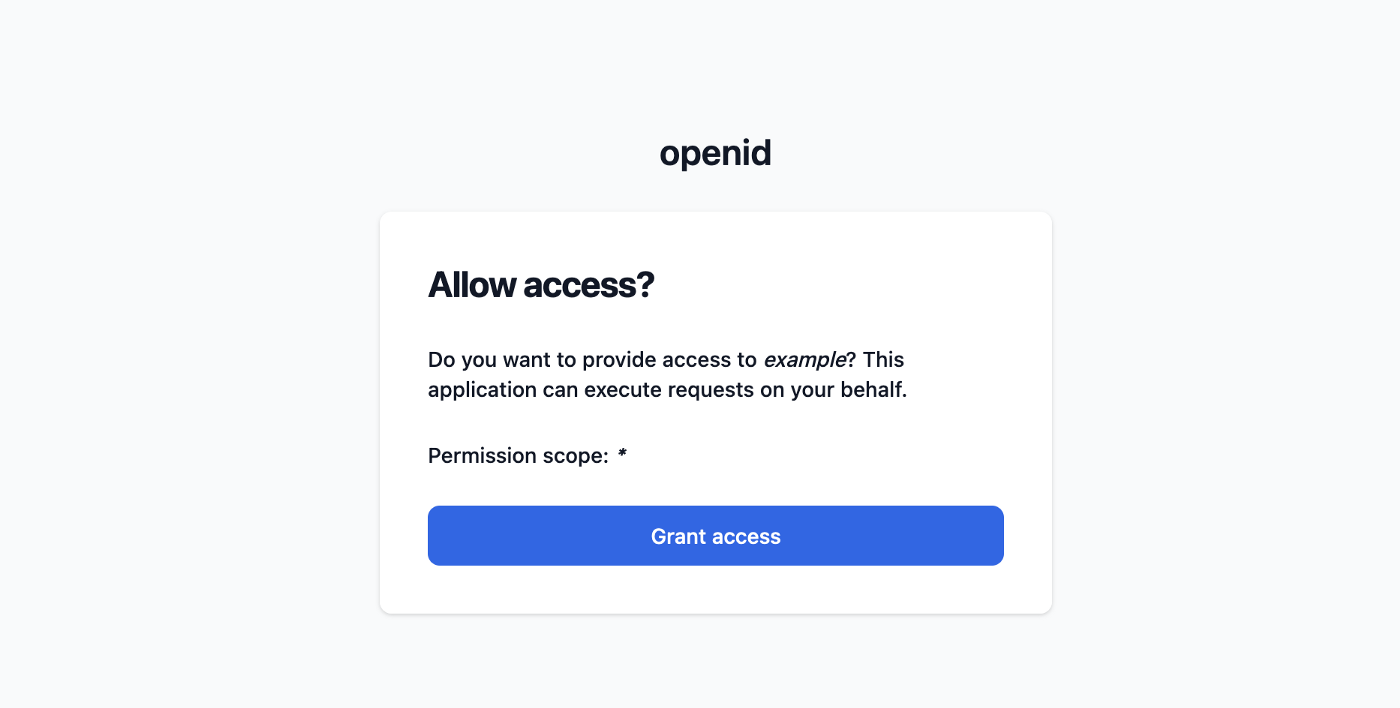
An OpenID authority needs a login page, consent page, and several API endpoints. The consent page is a page that asks the user's permission to provide access to a third-party application. Changes are high that you've seen a consent page before when logging in with your social media account on another website, for example.
The most important endpoint is the Discovery endpoint. You can open that endpoint in the browser to find the other endpoints and what features are supported by the IdP. For example, visit the discovery endpoint for Google accounts.
Before you add a user login to your app, it is recommended to familisarize yourself with the basics, but you don't need to know all the details to get started.
Login flows
OpenID is based on OAuth and uses the authorization code grant, implicit grant, and the resource owner password credentials grant. Furthermore, OAuth2 supports the client credentials grant. These flows differ in where the credentials (username/password) are collected and where you want to use the access token. A summary:
- Authorization code grant ⇨ User logs in at the IdP. The access token is known serverside at the RP. The user agent will not retrieve the access token.
- Implicit grant ⇨ User logs in at the IdP. The access token is sent to the user agent. The web server of the RP will not retrieve the access token.
- Resource owner password credentials grant ⇨ User logs in at the RP. The web server of the RP will send the credentials to the IdP and gets the access token. All systems will have access to the credentials.
- Client credentials grant ⇨ does not authenticate a user, but only the RA. The credentials are the client id and client secret.
For NextJS Single Page Apps (SPA), you'll want to use the implicit grant. Use the authorization code for traditional web apps that are rendered server-side. The credentials grant is the least secure and also the least common.
Implementing OpenID login in a Single Page App (SPA)
We have published a working OAuth / OpenID IdP as a Flowlet template, which you can find in the Templates section when logged in to your Flowlet workspace. You can register for a free trial if you do not have a workspace already.
To use the template, create a new secret (in the settings section) with the name "openid”. This should be an RS256 key pair, as the OpenID connect specifications recommended. That is everything you need to set up the IdP. Yet, you'll need at least one client to use it.
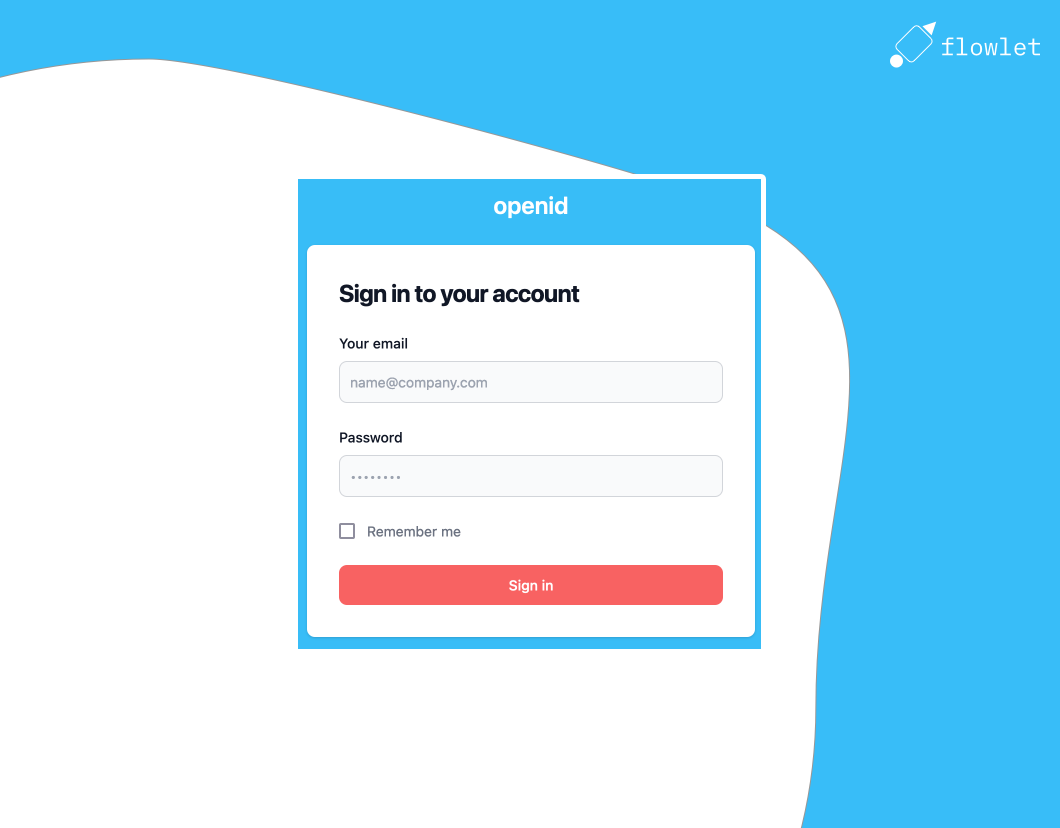
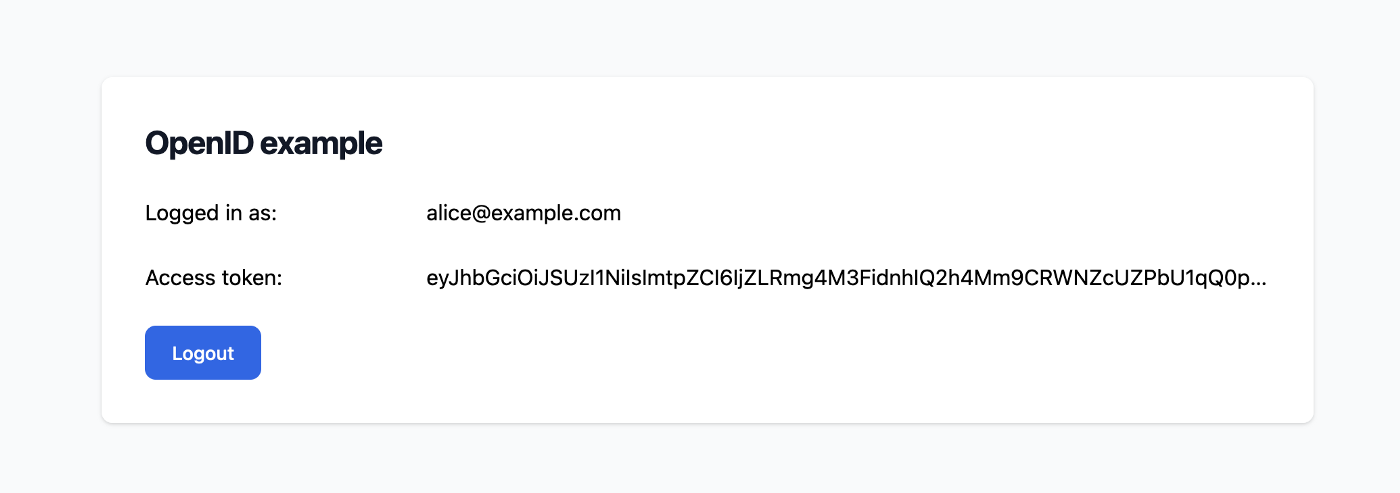
You can look at our example RP app on Github, written in NextJS. The readme file lists all steps required to get this example working. The sample app contains login via OpenID (using the implicit flow) and logout functionality. Use the Flowlet admin to register users.
After login, it will fetch the user profile from the user info endpoint.
The provided NextJS implementation is a templated intended to quickstart your project. There are several things you might want to change. You'll likely want to extend the user profile when using this in production. You can do this by adding fields to the User collection in Flowlet. Then edit the GET /api/userinfo flow and open the connection from the Find User block to the HTTP Response. All fields you want to provide to external applications should be connected to the output.
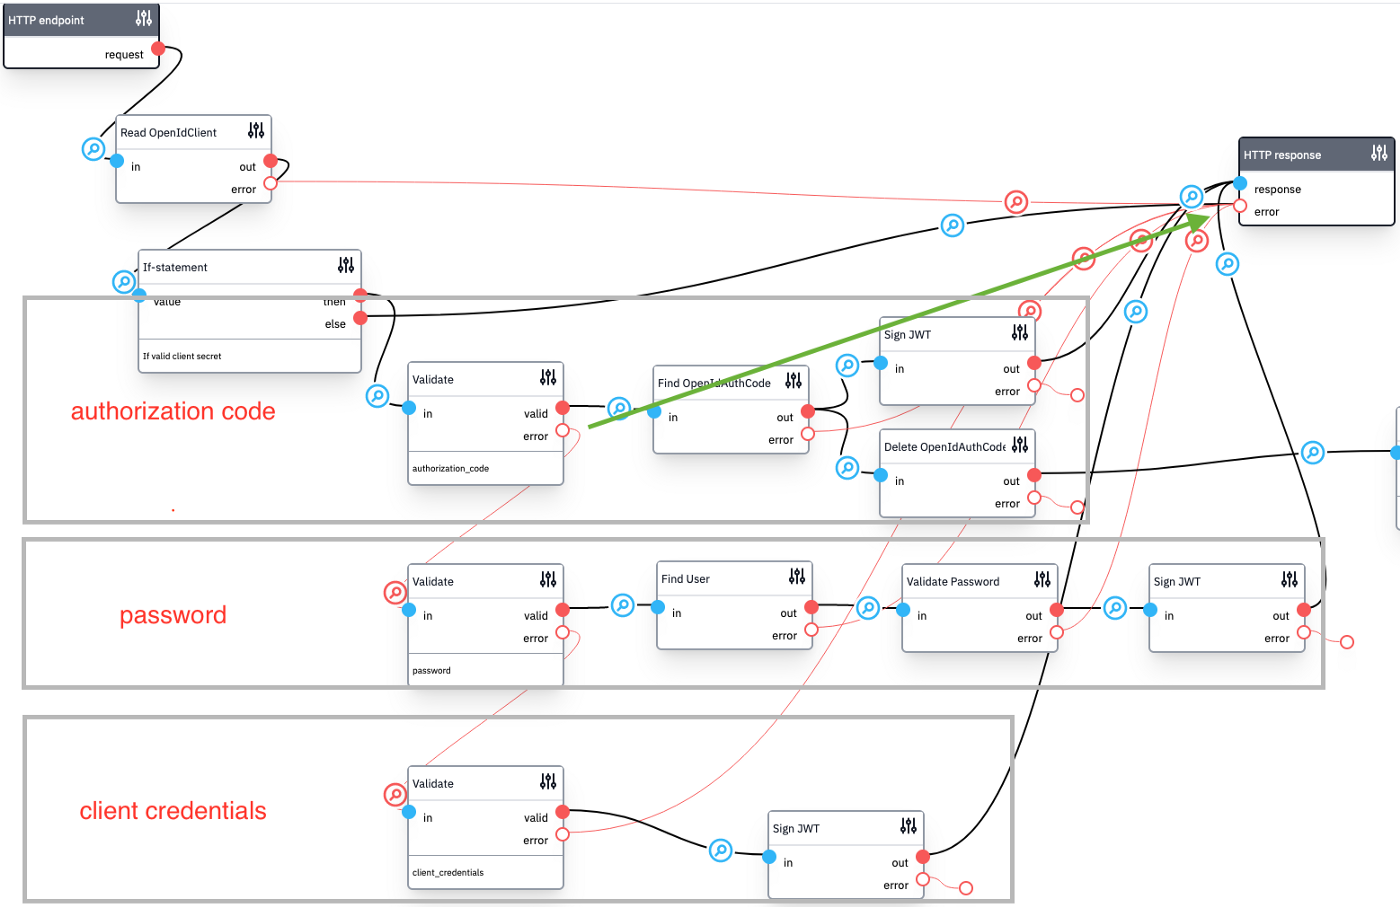
The OpenID template supports all grant types mentioned above. The first two start with the GET /api/authorize callback. The other two with the POST /api/token flow. That flow is shown below, with annotations to mark the parts that handle the different flows. If you want to disable the password and client credentials flows, you can remove the connection from the first validate block and connect it to the HTTP response block instead, as the green arrow shows.
This blog post shows you how to set up your OpenID identity provider using Flowlet. We also created a bare-bones example application that uses this IdP to log in users. The source code is provided to kickstart your project on Flowlet!
Can't wait to write APIs with Flowlet?
- Join the waitlist for the private beta
- Follow us on Medium, Twitter, or LinkedIn